Kerzen selbst gemacht / dipping beeswax candles
Geschrieben in Veranstaltungen am 27.11.2018 von Eva-Maria
Schon länger wollten wir herausfinden, wie Kerzen im Mittelalter hergestellt wurden. Im Zuge einer Belebung ergab sich die Gelegenheit, das "Kerzen ziehen" mal selbst auszuprobieren. Hier unser Fazit:
- Es dauert eine Weile, bis die entsprechende Menge Bienenwachs geschmolzen ist. Dafür bleibt es allerdings auch ohne Hitzezufuhr lang flüssig, d. h. es kann der Topf vom Feuer genommen und abseits von Hitze und Rauch an den Kerzen gearbeitet werden.
- Kerzen ziehen ist nicht schwierig, aber langwierig. Interessant war, dass Kinder es gerne ausprobierten und auch die Geduld bewiesen, die das wiederholte Eintauchen erfordert. Es dauerte immerhin ca. 1 Stunde, bis eine Kerze fertig war und aushärten konnte.
- Die Kerzen tendieren dazu, krumm zu werden. Sie müssen also immer wieder mal von Hand gerade gerichtet werden, solange sie noch warm sind.
- Am Ende der Kerze bildet sich eine Tropfenform aus, die wir im Laufe der Tauchvorgänge mehrmals weggeschnitten haben, um das dicke Ende zu verstärken.
- Auf Rat eines Freundes lagerten die getrockneten Kerzen abschließend zwei Wochen im Kühlschrank. Dadurch sollen sie länger und gleichmäßiger brennen. Nun also - Es werde Licht!

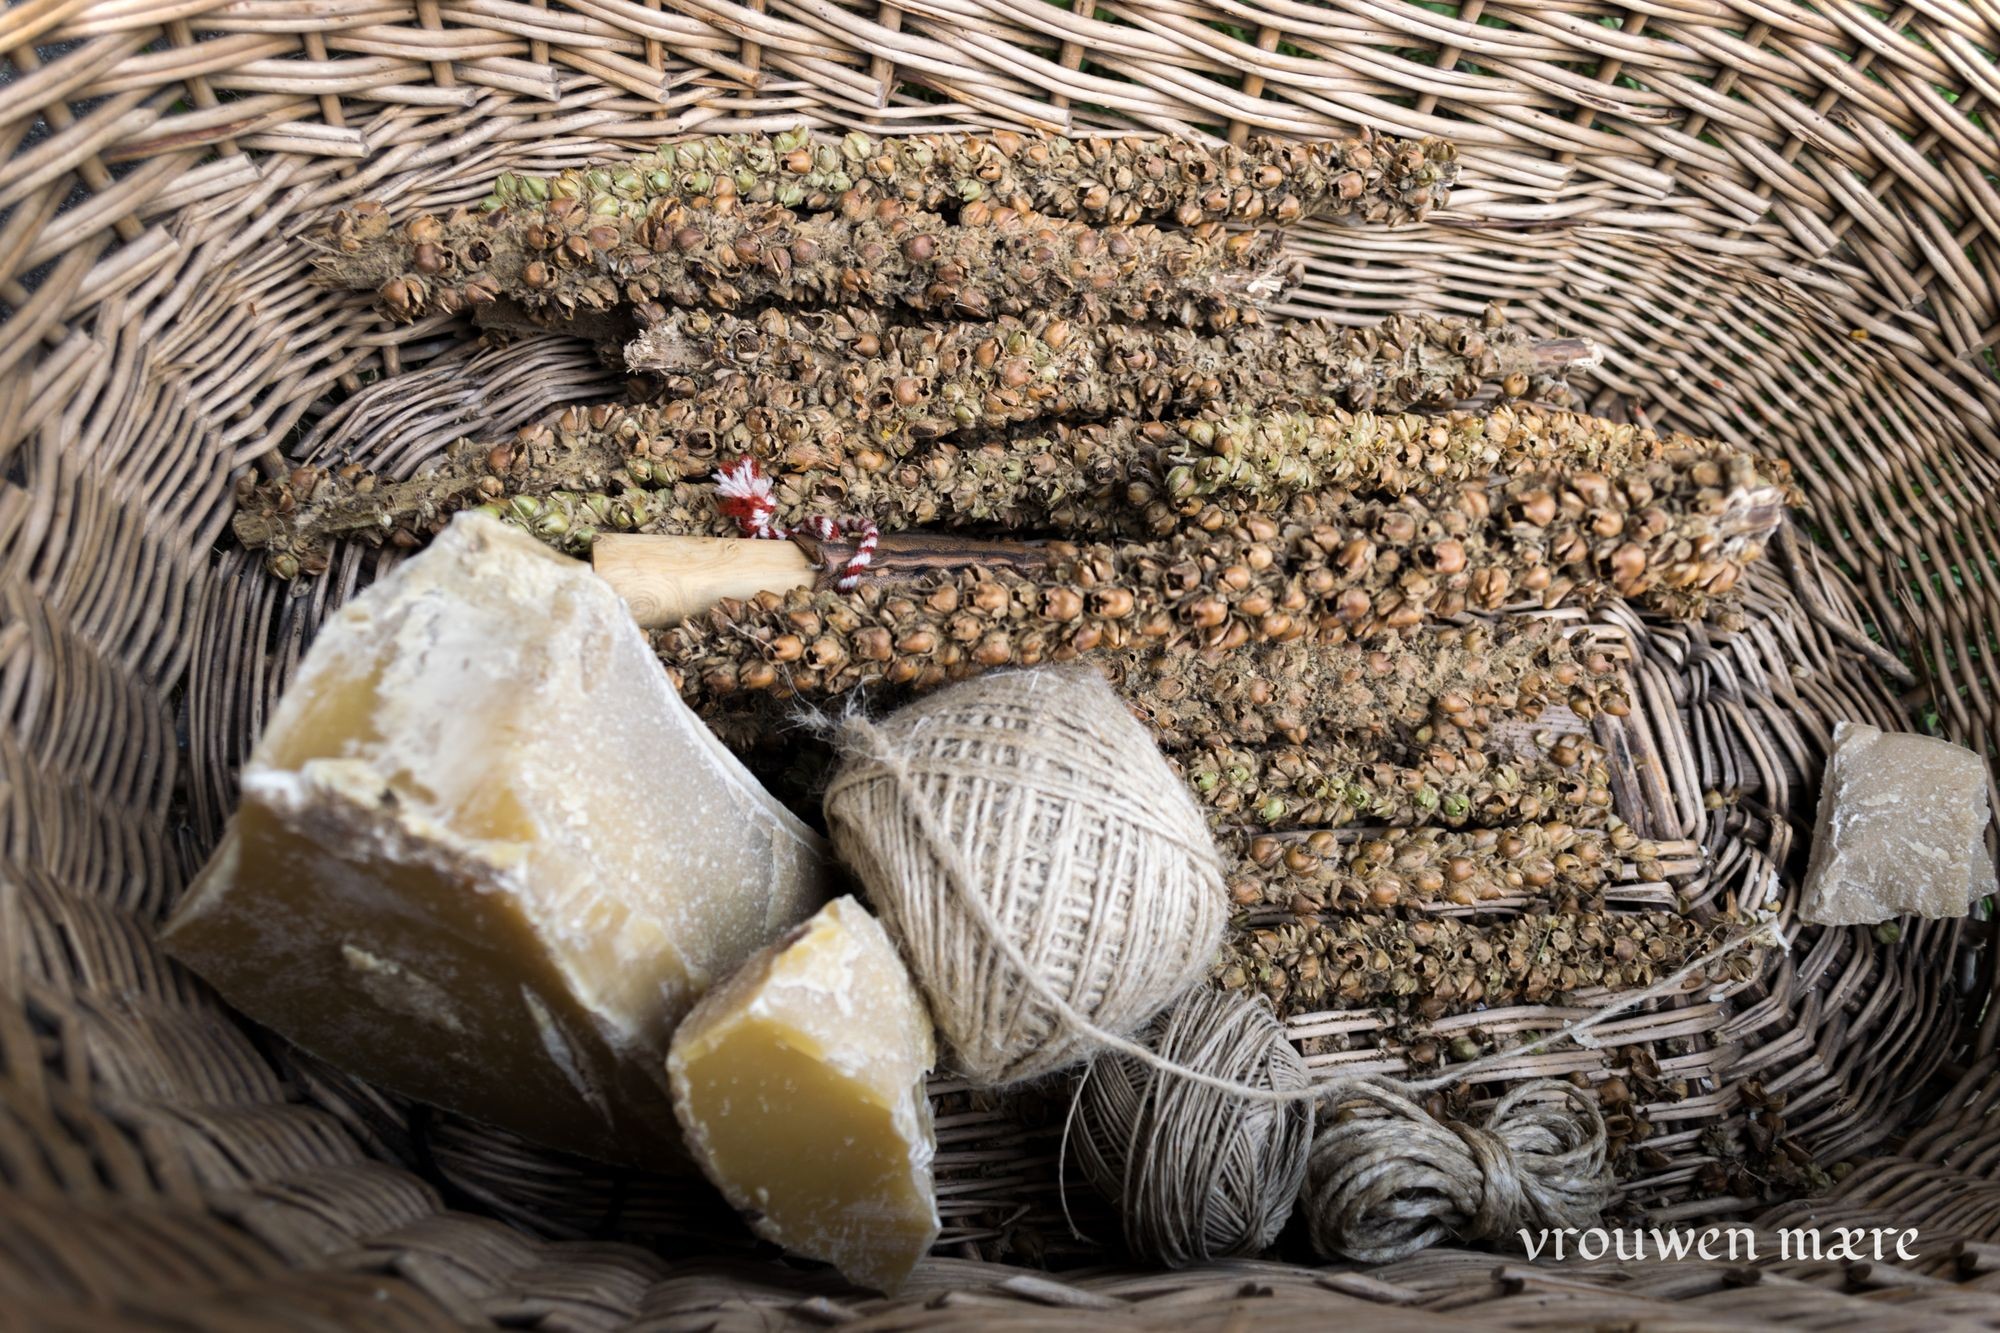
The needed ingredients: a block of beeswax and an assortment of linen thread for the wick. The dryed mulleins should experimentally be used to form a torches' core but that didn't work out well (or burn nicely).

(Cave: Wir sind uns nicht sicher, wie Bienenwachs historisch korrekt geschmolzen worden wäre. Hätte man das Wachs direkt erhitzt oder doch ein Wasserbad verwendet? Hier müssen wir sicherlich noch einige Details recherchieren. Falls jemand dazu vertiefende Informationen hat - wir würden uns über ein E-Mail freuen.)
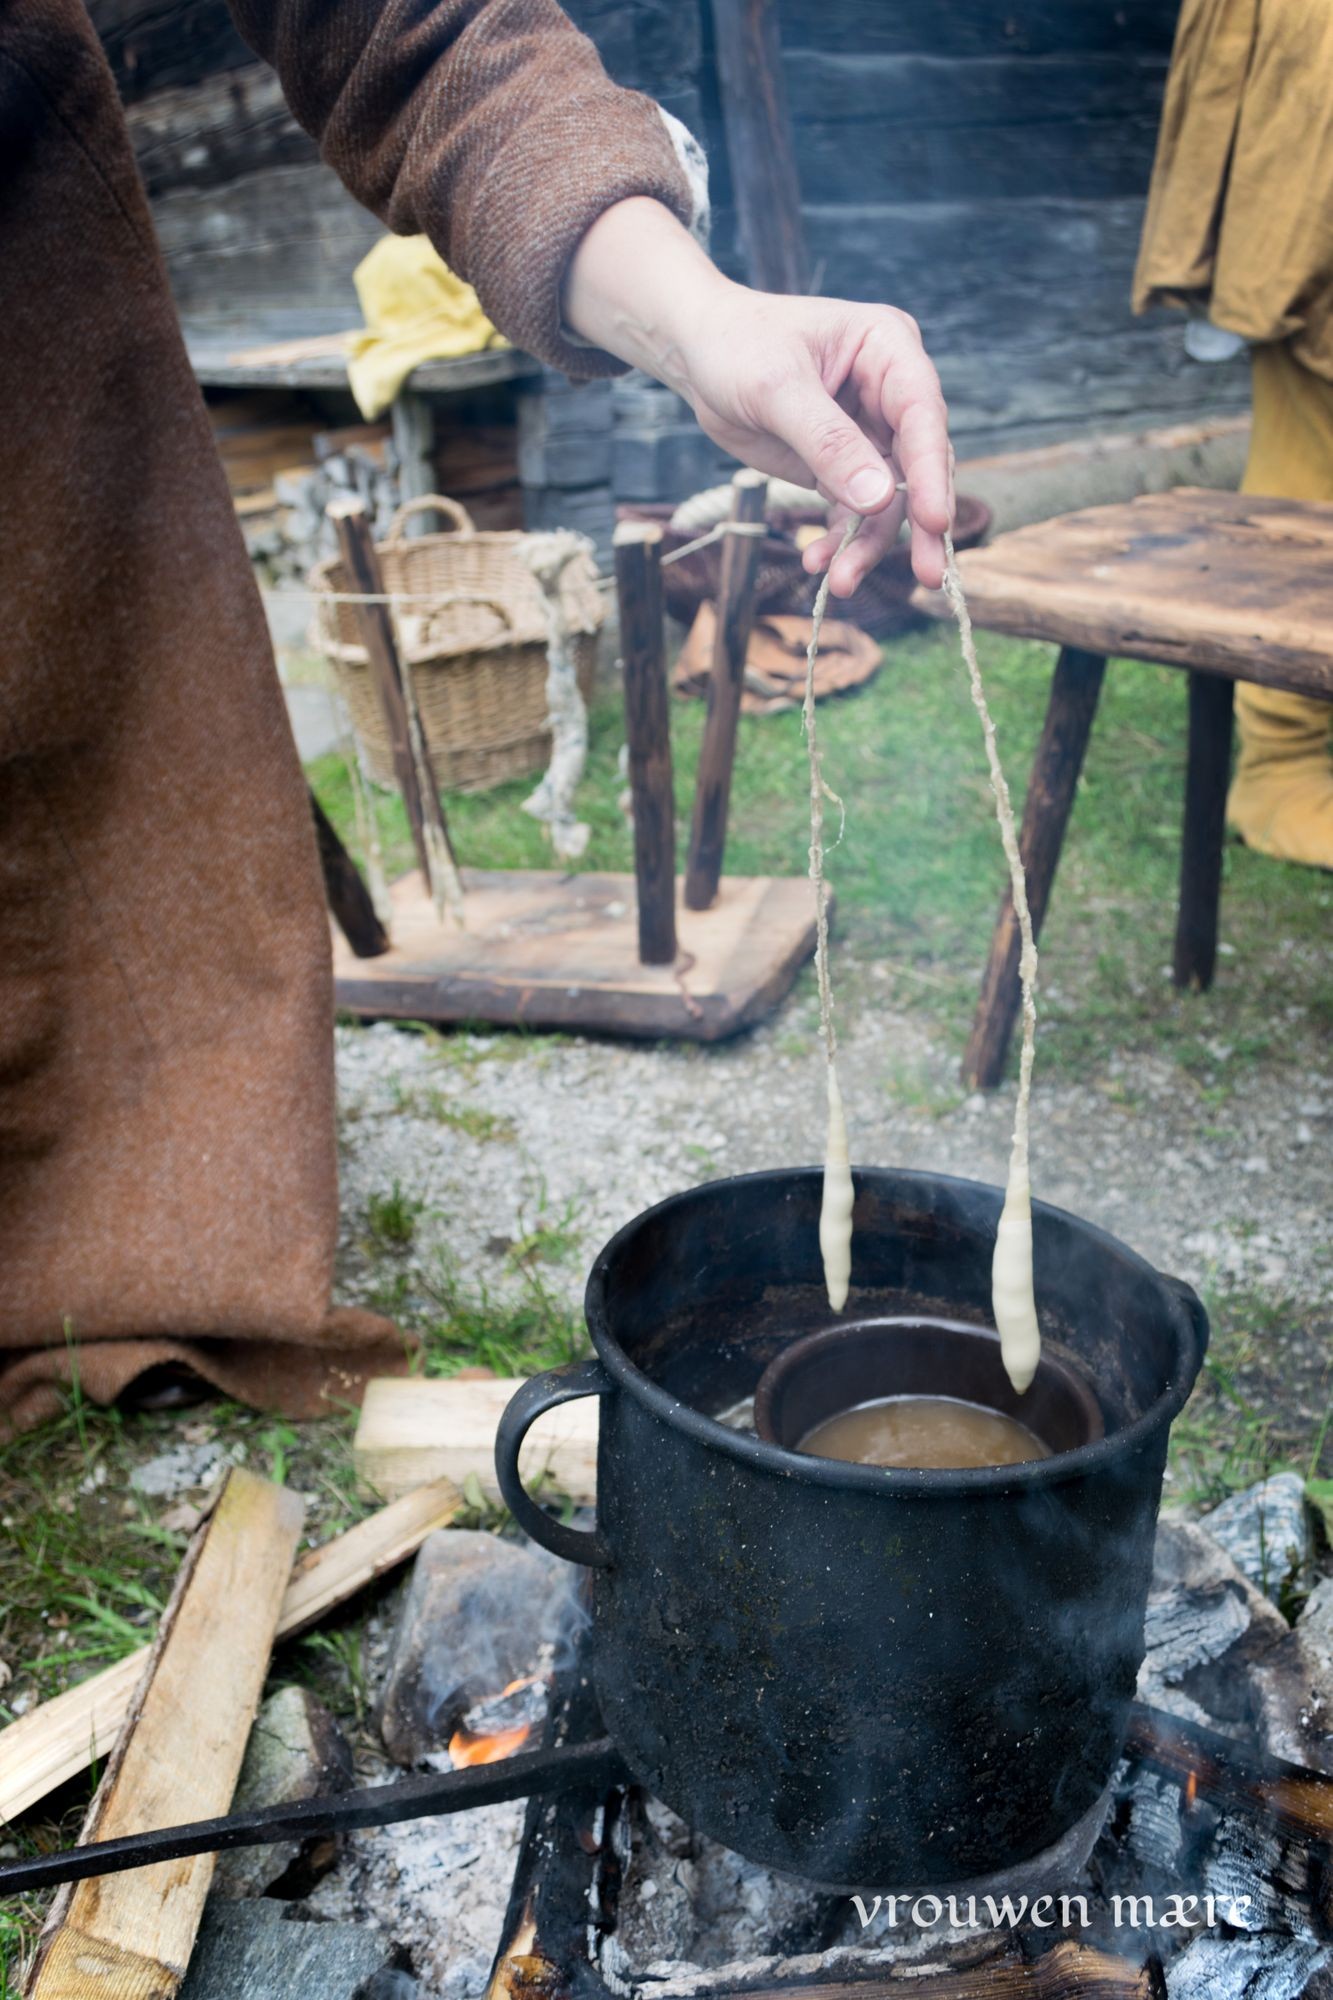
Dipping both ends of the wick at the same time forms two candles in one step.
(Cave: We are not sure about the historically correct way to melt bees wax. Would it have been melted directly or using a water bath? If you have in-depth informationabout this subject we would be glad to hear from you.)

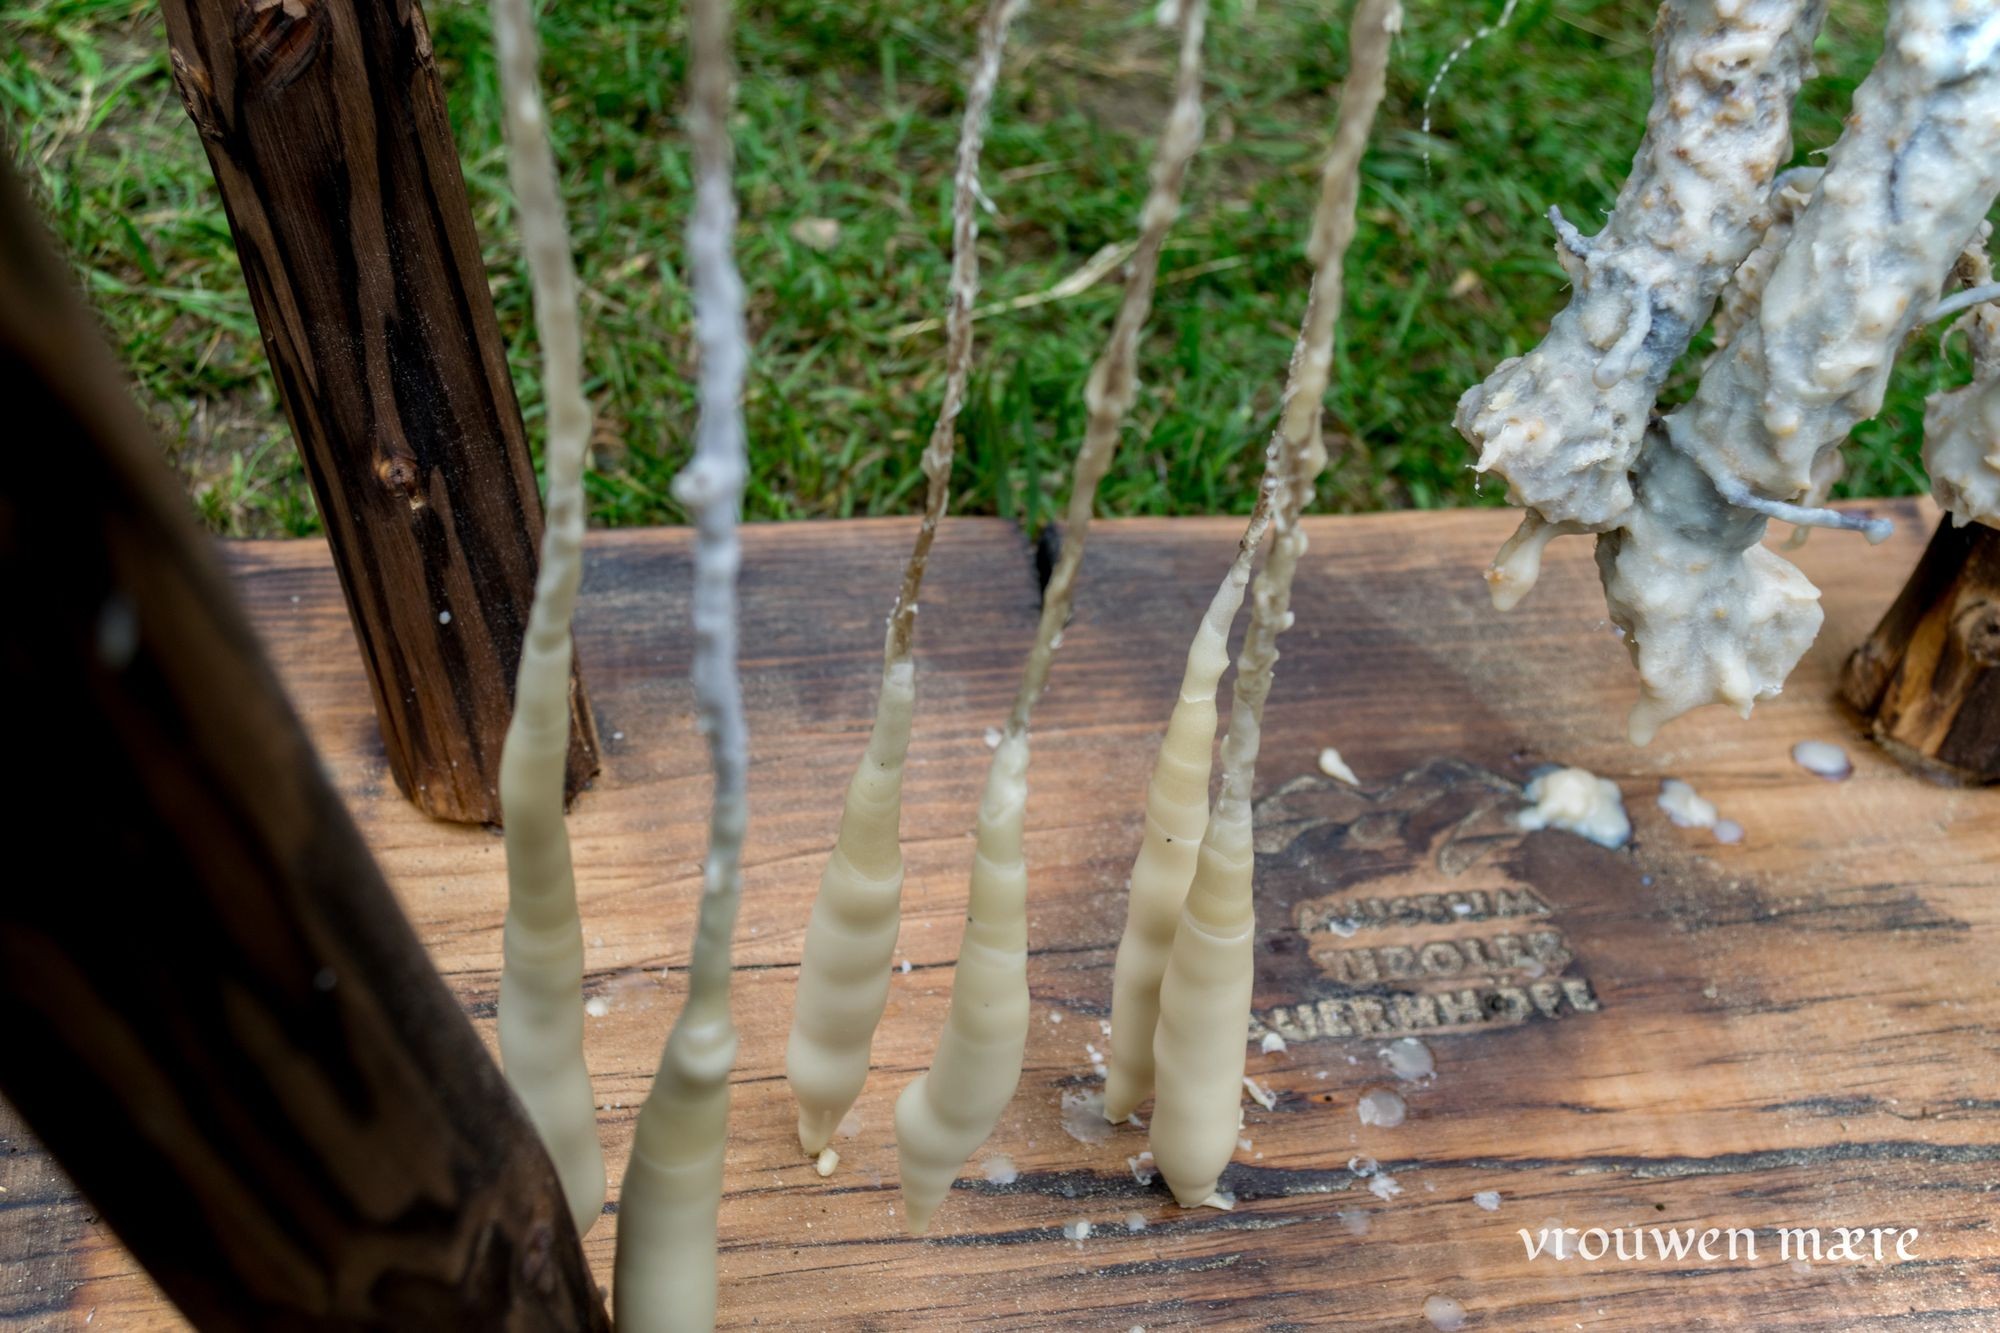
For our first try the candles didn't turn out too badly. Only the straight form lets to be desired.

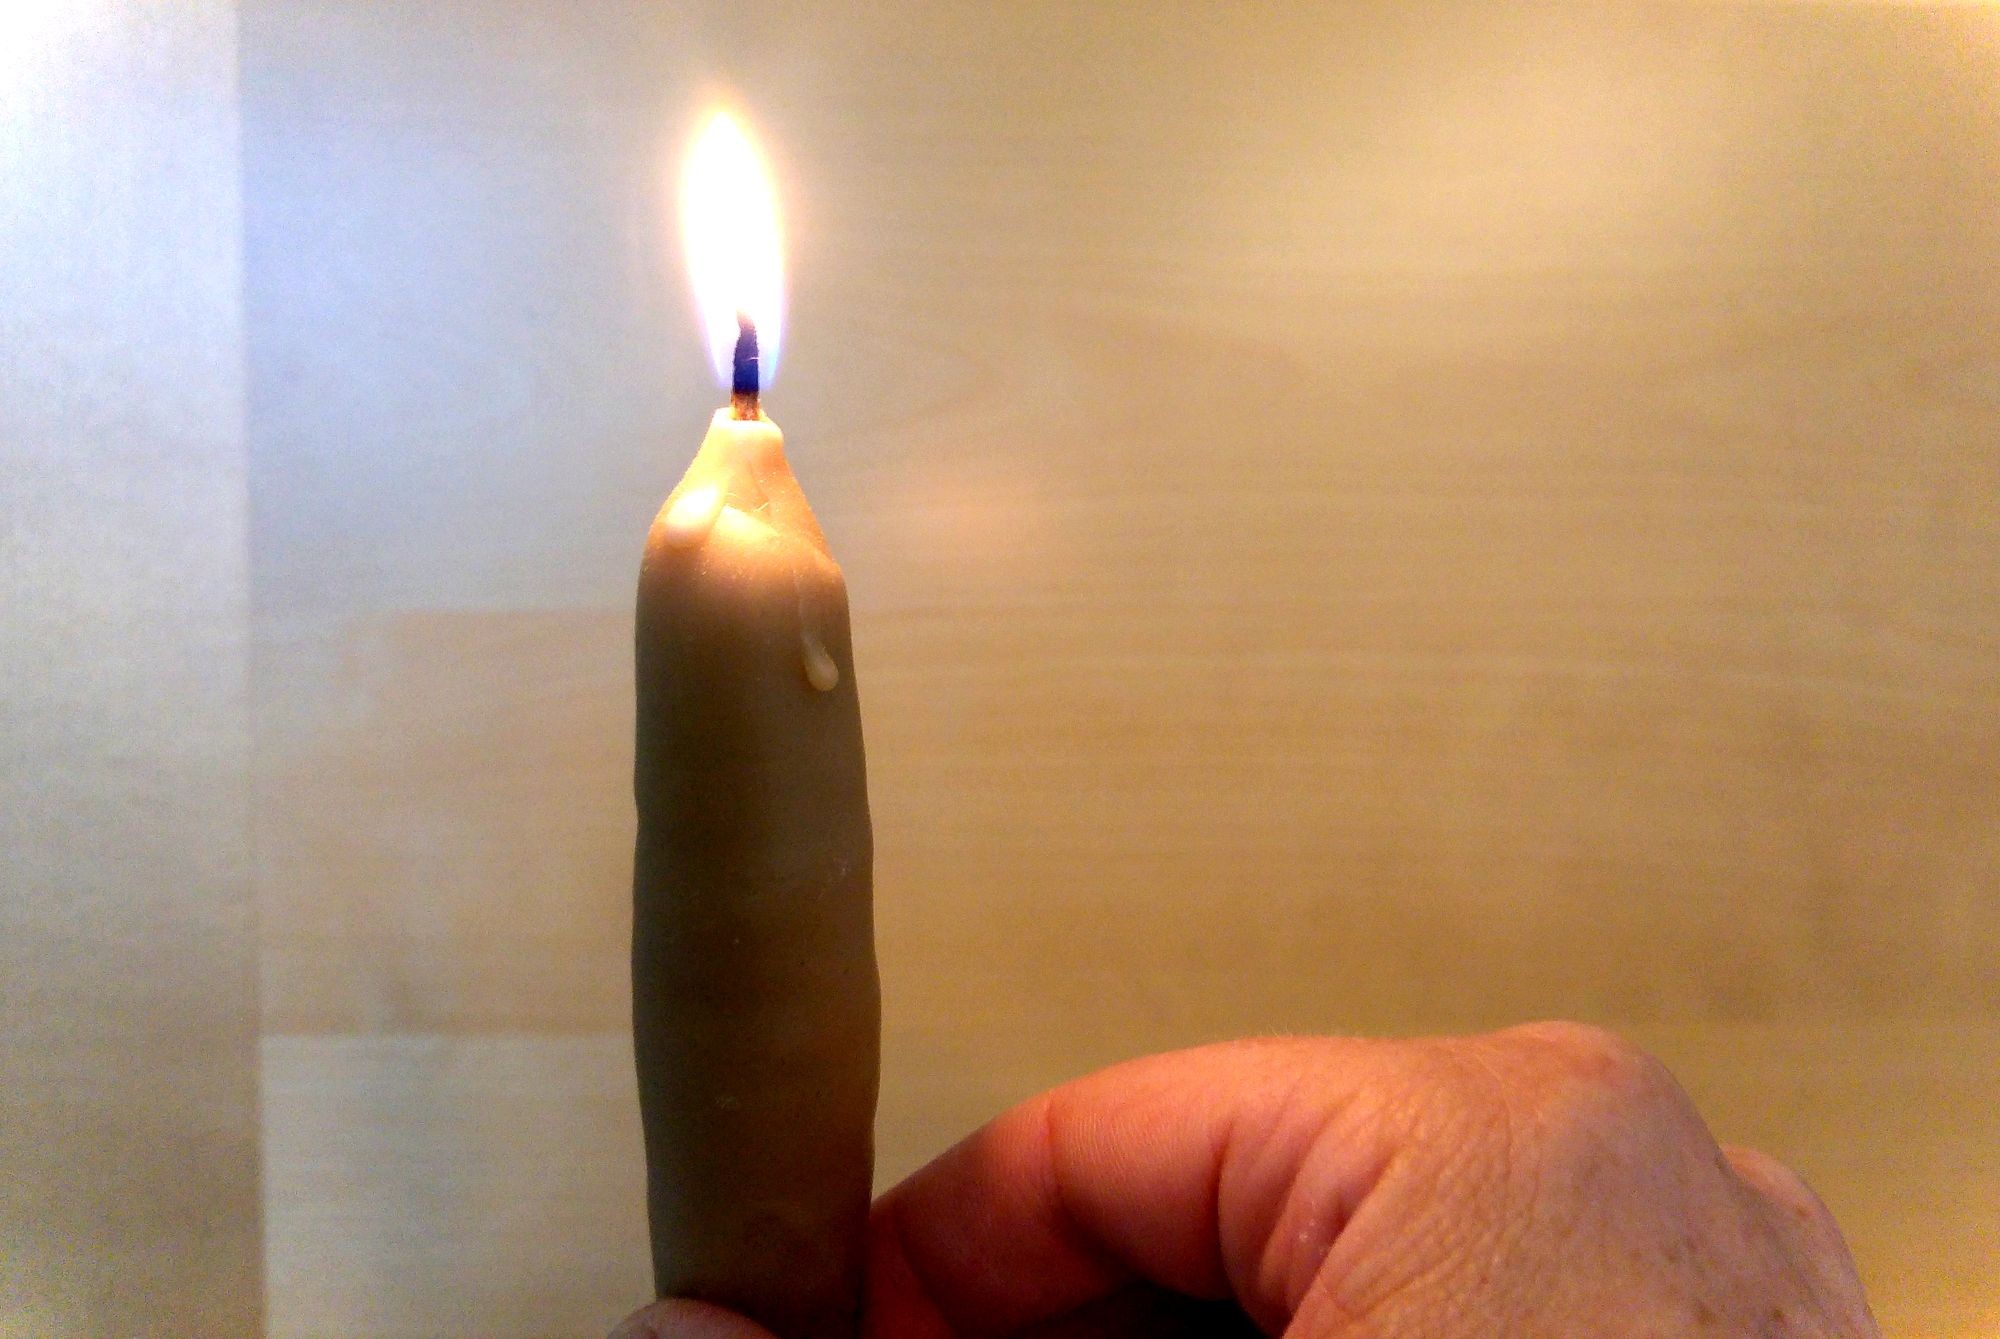
The little candle burns brightly - mission accomplished!
It's been some time already that we wanted to try out candle making ourselfs. This summer we finally go the opportunity to dip beeswax candles at an event. Here's our conclusion:
- It takes quite some time for the beeswax to melt. But when it's fluid it stays so for a while. That enables you to take the pot away from smoke and fire and work more comfortably on producing the candles.
- Dipping beeswax candles isn't complicated, mainly time consuming. Unexpectedly we found that children love to try it and even exercise the necessary patience. It takes about 1 hour and repeated dippings for a small candle to form.
- The candles tend to get crooked. Therefore, from time to time it is necessary to straighten them by hand as long as they are soft from the dipping process.
- At the bottom of each candle, a tearlike drop will form that we cut away repeatedly to allow for a thicker bottom.
- After the candles were finished and dried out, we followed a friend's advise and put them into the fridge for two weeks. This should make them burn longer and brighter. Now - let there be light!

